To create an element for a command line tool select either Actions ‣ Create element with command line tool in the main menu or the following icon on the toolbar:

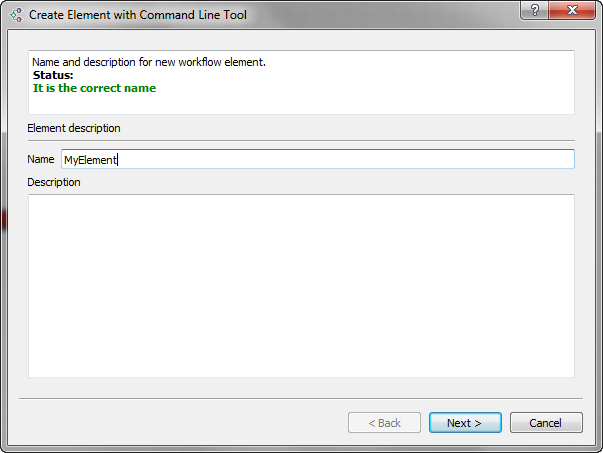
The Create Element with Command Line Tool wizard appears. On the first page of the wizard input a name and a description of the element in the Property Editor. Letters, numbers and underscores are allowed in the name.
On the second page add the required input and output data:
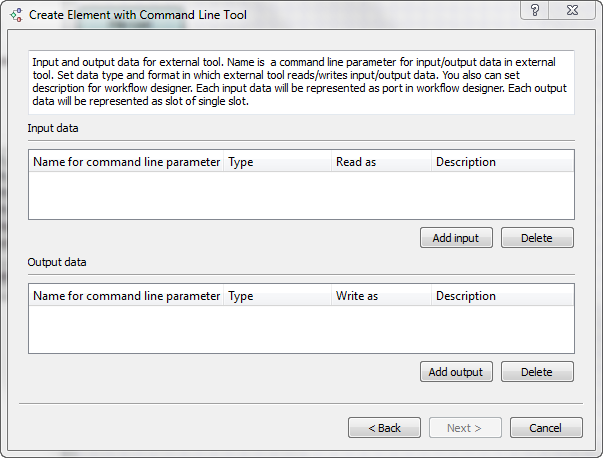
For each input or output you should:
- Input a name (letters, numbers and underscores are allowed in the name).
- Select a type: multiple alignment, sequence, sequence with annotations, a set of annotations or string.
- Specify how the input or output should be handled (for example, you can specify that a value of the input parameter should be handled as a FASTA file).
- Optionally input a description.
On the third page of the wizard you can add attributes for the command line tool. Later you would be able to set values for the attributes in the Property Editor, i.e. the attributes are actually the parameters of the new element.
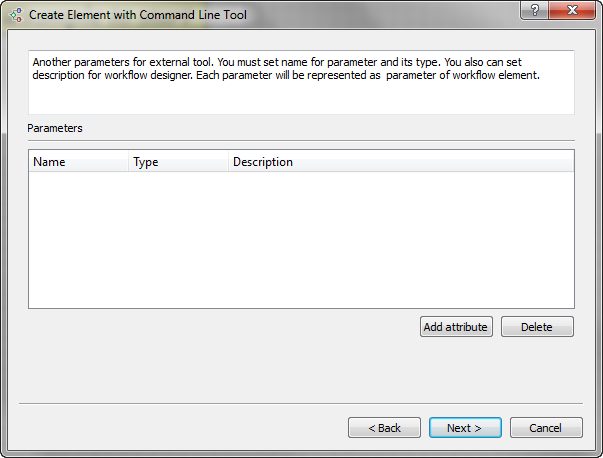
For each attribute added you should:
- Input a name (letters, numbers and underscores are allowed in the name).
- Select it’s type: boolean, number, string or URL.
- Optionally input the description.
On the last page of the wizard you should input the execution string, i.e. the command that would be executed.
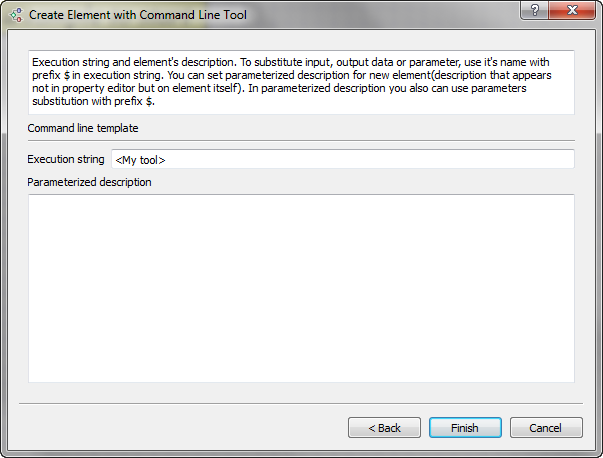
The signature of the execution string depends on the command that is launched. But the general rule is that input/output data and attributes have prefic $. For example let there be some perl script “myScript.pl” that accepts an input file as the first attribute and accepts the second attribute denoted as “param1”. The command may look as follows:
perl [path_to_script]myScript.pl $infile $param1 > $outfile
Here infile and outfile are input and output data set on the step 2, param1 is an attribute set on the step 3.
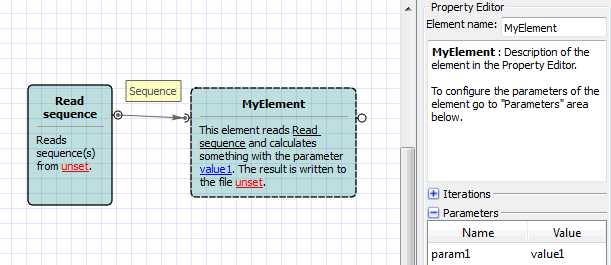
On the same wizard page you can optionally input the description of the element. It would be shown on the element on the Scene. The description can be parameterized. This means that if you input e.g. an attribute name (with prefix $), the name on the element would be substituted with the value of the corresponding parameter.
For example input the following parameters:

The element created looks as follows: